This page may contain affiliate links that allow us to make a small commission from qualifying purchases (at no extra cost to yourself). We appreciate your support.
Fairy houses can often be quite expensive when purchasing them at the store. I wanted to see how I could create a fairy house on a budget using cheap, easily accessible items. I did some research and found some great ways to make a fairy house using recycled, plastic bottles.
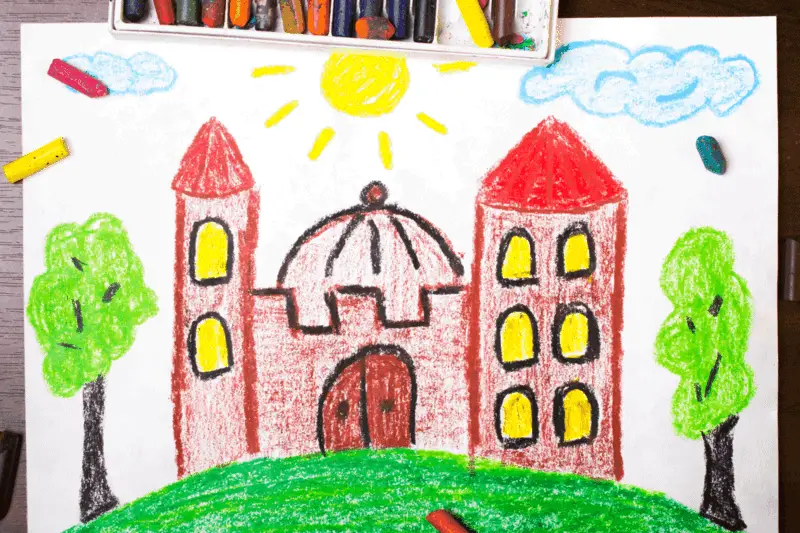
The simplest way to make a fairy house out of a bottle is to cut the bottle in half and discard the bottom piece. Next, draw a door and windows onto the bottle. Paint the bottle your desired color and add decorations such as pebbles or moss.
While this simple method is a great craft activity for you and your kids, there are other inexpensive ways that can be used to create a more realistic fairy house. Clay or cement can be used to provide a stone-like appearance and solar powered lights will bring your fairy house to life at night.
For some great fairy garden theme ideas, I wrote an article with 15 unique fairy garden ideas for children that I encourage you to read!
Below, I have included a step-by-step guide showing exactly how to incorporate these ideas and the materials you will need.
Step 1 – Design Your Fairy House
This is by far the most important step as it sets the foundation as to what your fairy house will look like and what specific materials you will need to bring your idea to life.
“Good design’s not about what medium you’re working in. It’s about thinking hard about what you want to do and what you have to work with before you start.”
Susan Kare (Artist)
As my main goal with this project was to learn how to create a fairy house on a budget, I first started by looking around the house to see what types of items I already had on hand. This helped me to start thinking about the size and style of fairy house I may want to build.
Try asking yourself these questions:
- Do you want to build a simple, one bottle, fairy house or a larger house using multiple bottles?
- Do you want to draw and paint images on your house or mold your surface using paper clay or cement for a more realistic look?
- What type of decorations do you want on your fairy house?
- Do you want your fairy house to look more realistic or homemade with a personal touch?
- Do you want lights within your house?
- Is your house going to be kept inside or in an outdoor fairy garden?
No matter what you decide, by thinking about your fairy house design beforehand, you will be able to know exactly what you need to bring your idea to realization. In the following steps, we describe a variety of options that will hopefully help you to decide what will work best for you.
Step 2 – Choose Your Bottle

The second step in building a fairy house is choosing the right bottle. Recycling used plastic bottles is an easy and cheap way to find bottles to choose from and they often come in all shapes and sizes.
You can’t really go wrong when choosing a bottle as long as it is easy to cut and is durable enough to hold its form.
If you are wanting to build a large fairy house, you can either find a large plastic bottle (2–3 gallon water jugs work well) or use multiple coke bottles bound together.
Step 3 – Craft Bottle into Fairy House
This step is where your fairy house starts to take shape and begins to look less like a bottle. Your fairy house design from step 1, will guide you on what you will need and how you want your fairy house to look.
The design process is important so that you have a blueprint to follow when crafting your bottle. Below, I have outlined a variety of methods for crafting fairy houses, that range from simple to more advanced.
Simple Method – Great for Kids
- Things You’ll Need
- Scissors
- Plastic bottle
- Sharpie
- Glue
- Colored paper
- Cut the bottle in half and discard the bottom half.
- Draw some windows and a door onto your bottle using a sharpie.
- Cut out the window and door shapes, using scissors, so that you now have an opening.
- You can also skip cutting out the shapes and just color them onto your bottle or glue some colored paper over your designs.
- You are now ready to decorate your fairy house using a coat of paint or other decorative items. (See Step 4 for some great ideas!)
Moderate Method –Wood Glue & Paper Towels
- Things You’ll Need
- Multiple Bottles of Different Sizes
- Hot Glue
- Sharpie
- Wood Glue
- Paper Towels
- Cardboard or Craft Foam
- Sand
- Paint
- This method is great is you want to make a fairy castle or large house with different sized towers.
- Draw window outlines and door outlines onto your bottles using a sharpie.
- Glue the bottles together using hot glue.
- To create texture, apply a layer of wood glue, making sure to apply around your window outlines.
- Immediately after applying the layer of wood glue, apply a layer of paper towels over the glue.
- To create depth and make your windows and doors look more realistic, cut out pieces of cardboard or craft foam and glue around your window outlines.
- To add another layer of texture, mix some wood glue and sand together and apply all over your fairy house.
- Once fully dried, the walls of your fairy house/castle should look much more like real stone or cement.
- To create pointed towers, cut some cardboard or craft foam into a cone shape and glue onto the top of your bottles to complete your rooftops.
- You are now ready to decorate your fairy house using a coat of paint or other decorative items. (See Step 4 for some great ideas!)
Advanced Method – Paper Clay
- Things You’ll Need
- 3 different sized coke bottles
- Scissors
- Hot glue
- Sharpie
- Tin foil
- Paper clay (This is my go to brand)
- This method works best using 3 different sized coke bottles and is great for anyone trying to create a fairy castle or a house with tall towers.
- Cut the bottom part of the bottles off and discard.
- Glue the bottles together using a hot glue gun.
- Outline with a sharpie your windows and door and any other features you would like to add.
- Use tin foil and hot glue to build the shape of your house.
- Apply the tin foil on over the lids of the bottles to shape your towers and around your windows and door to create depth.
- Cover all of your fairy house using paper clay.
- Be sure to follow the package instructions. I like paper clay over dry clay as it doesn’t shrink.
- You can add more tin foil and a second layer of paper clay to create texture if needed.
- Let your paper clay completely dry before decorating or adding a second layer.
- You are now ready to decorate your fairy house using a coat of paint or other decorative items. (See Step 4 for some great ideas!)
Advanced Method – One Large Bottle with Cement
- Things You’ll Need
- Large 2-3 gallon plastic jug
- Wet Cement
- Moss
- Pebbles/Small Stones
- Craft Glue
- Sharpie
- Scissors/Sharp Knife
- Paper plate
- Cut off the bottom part of the plastic jug and discard it.
- Draw the outline of your windows and door using a sharpie.
- Cut out your door and windows using some scissors.
- Apply wet cement around the lower portion of the bottle, making sure to apply around the outline of your windows and door.
- Immediately after applying the wet cement, place pebbles and small stones around your bottle to cover the cement.
- Allow the wet cement to dry.
- Using craft glue, stick moss in between your pebbles and stones.
- Cut out the inner part of your paper plate and place the leftover rim around the top of your plastic jug.
- Apply wet cement around the upper portion of the bottle and over your paper plate rim.
- Immediately apply more stones and pebbles to the upper portion of your bottle.
- Cover the bottle neck with cement to create the appearance of a chimney.
- Allow the cement to dry.
- Apply more moss using craft glue to the upper portion of the bottle.
- You are now ready to add additional decorations or fairy figures to your fairy house. (See Step 4 for some great ideas!)
Step 4 – Decorate Your Fairy House
Now that you have crafted your dream fairy house, you are ready to add some additional decoration!
Here are some fun decorative ideas to get you started:
- Moss
- Paint
- Colored ribbons
- Glitter
- Personal drawings
- Colored gems
- Toadstools
- Fairy figures
- Fairy lights
- Solar powered night lights (solar powered garden lights work great!)
- Miniature furniture for inside your fairy house
- Outdoor Miniature Furniture
- Miniature door
- Miniature animals
- Flowers
- Twigs
- Leaves
Final Thoughts
Creating your own fairy house doesn’t need to be a burden on your bank account and can easily be made on a budget, using things you already have lying around the house.
I hope that this article has given you some fun ideas to try and some direction as to how you can create your very own magical fairyland! Get creative, involve your kids, and don’t forget to have fun!

Meet Brad, the creator behind Vivarium Vibes, where his deep connection with nature and animals truly comes to life.